How to Set Up a Trail Camera
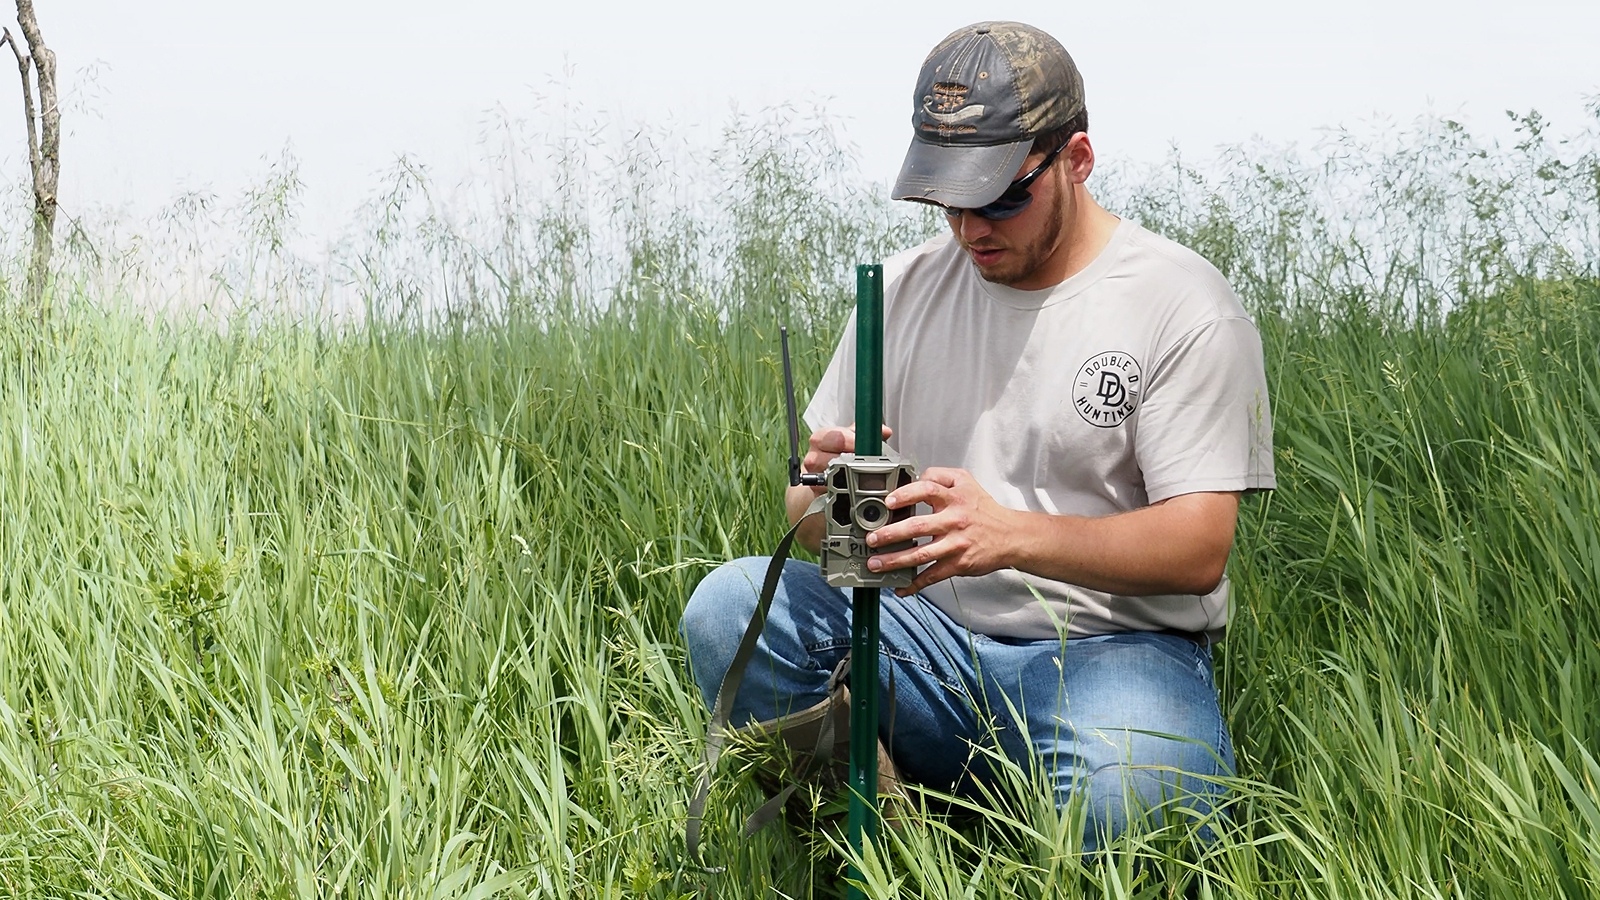
There are really two jobs here: prep the camera before you leave, then hang and aim it correctly in the field. Skip the first and you'll drive back out for a dead battery; skip the second and you'll collect a card full of garbage. Here's the whole sequence, in order.
How Do You Set Up a Trail Camera Before You Head Out?
Everything that's annoying to fix in the woods is easy to handle at the truck. Before you walk in, do these three things:
- Load fresh batteries. Use lithium AA cells where the camera allows — they last far longer than alkaline and shrug off cold far better. Alkalines fade fast and can leak.
- Insert a formatted SD card. Format the card in the camera (not just on your computer) so the file system matches, then confirm it has room. A mismatched or full card is the most common reason a camera quietly stops saving. See our trail camera SD card guide for size and speed-class advice.
- Set the clock and your settings. Set the correct date and time so the stamp on each photo is useful, and choose your photo/video mode, delay, and sensitivity now (covered below) so you're not squinting at a tiny menu against a tree later.
How to Set Up a Trail Camera, Step by Step
With the camera prepped, here's the field sequence from strap to walk-away:
- Pick a sturdy tree at the right distance. Choose a solid trunk roughly 10 to 20 feet from the trail or feature you want to watch — close enough for a sharp, full-frame shot, far enough to catch the whole animal and stay unnoticed.
- Strap it at waist height. Mount the camera around three feet off the ground for deer, which puts the sensor at chest level on a walking deer. Cinch the strap so the camera can't sag or twist in the wind.
- Angle it across the trail and tilt it down. Aim about 45 degrees across the trail rather than straight at it, so deer walk through the frame and you get full-body and antler detail. Tilt the lens slightly downward to keep sky out of the shot and put the trigger zone on the ground where animals actually move.
- Face it north (or keep the sun behind it). Point the camera north so the sun stays at its back all day. Avoid aiming due east or west into sunrise and sunset.
- Clear the detection zone. Snip or pull any grass, branches, and brush within a few feet in front of the camera. Sun-warmed, wind-blown vegetation is the number-one cause of false triggers.
- Set or confirm your settings. Lock in photo vs. video, multi-shot, delay, and sensitivity (see below) for the spot you're watching.
- Walk-test it, then leave. Walk across the frame at the distance a deer would, confirm it triggers and captures cleanly, then back out — quietly, and ideally midday when deer are least active.
How High Should You Mount a Trail Camera?
For deer, hang the camera around waist height — roughly three to four feet off the ground. That puts the passive infrared sensor at chest level on a walking deer, gives you full-body images, and leaves enough angle to read a buck's rack instead of cropping it off. Mount it too low and you photograph legs and trip on every squirrel; too high and you shoot down at backs and lose the rack.
There are two good reasons to break that rule and go higher:
- Pressured deer. Mature deer on heavily watched ground learn to clock cameras at eye level. Mounting eight to ten feet up and angling sharply down keeps the camera out of their sight line.
- Theft and security. On public ground or near roads and access points, a high, downward-angled mount is harder to spot and harder to grab. Pair it with a security cable for peace of mind.
Which Direction Should a Trail Camera Face?
Face it north whenever you can. A north-facing camera keeps the sun at its back through the whole day, which means cleaner images and far fewer false triggers from light shifting across the frame. The mistake to avoid is aiming due east or due west — point a camera into the sunrise or sunset and the glare washes photos out completely and can trip the sensor on its own at first and last light, exactly when deer are moving.
If the trail you want forces a different orientation, the rule underneath "face north" is simply this: keep the sun behind the camera, not staring into the lens.
Why Should You Clear the Detection Zone?
The detection zone is the cone in front of the camera where the motion sensor reads heat and movement. Anything in that cone that the sun warms and the wind moves — tall grass, leafy branches, saplings — can fool the sensor into firing. The result is a card stuffed with empty photos of waving weeds and a battery drained on nothing.
Before you walk away, clear a few feet of vegetation directly in front of the lens. Trim grass, snip overhanging limbs, and pull saplings out of the frame. It's the single cheapest fix for false triggers, and it costs you two minutes. On a windy ridge, lowering the camera's sensitivity a notch (next section) helps too.
Which Trail Camera Settings Actually Matter?
Menus vary by model, but these are the settings worth understanding on any camera:
- Photo vs. video. Photos sip battery and storage and are plenty for inventory and counts. Video shows behavior and direction of travel but burns power and card space fast — reserve it for spots where you want to study how deer use the area.
- Multi-shot / burst. Fires several frames per trigger so you catch the whole pass, not just a tail leaving the frame. Good on fast-moving trails.
- Delay / interval. The forced pause between triggers. A short delay catches everything but can bury you in near-identical shots of a deer that lingers; a one-to-five-minute delay keeps the card readable over feed sites and water.
- Time-lapse. Snaps on a fixed schedule regardless of motion — useful for watching a whole field edge or food plot where deer enter beyond sensor range.
- Sensitivity. Higher catches smaller or more distant movement; lower cuts false triggers from wind, heat shimmer, and vegetation. Dial it to the spot.
- Date/time stamp. Turn it on. Without an accurate stamp you can't tell when deer move, which is half the point of running cameras.
Tune to the location, not a universal "best." A pinch-point trail wants high sensitivity and burst; a busy feed site wants a longer delay so you aren't sorting 400 photos of the same doe. Exact menu names and ranges differ by model, so check your camera's manual for its specific options.
How Do You Keep a Trail Camera from Fogging Up?
Fogging is condensation, not a defect. Warm, humid air sealed inside the housing meets the cold lens or front glass, drops below its dew point, and turns to droplets or frost on the coldest surface — usually the inside of the lens. It's worst in cold, damp weather and on big overnight temperature swings. Here's how to stop it:
- Add silica gel desiccant packs. Tuck two or three packs inside — the battery compartment, near the card slot, or any dead space by the hinge. They pull the moisture out of the trapped air before it can condense. Use packs with a color indicator and replace or re-dry them (a low oven reactivates them) when the color changes; saturated silica stops working.
- Let it acclimate before you seal it. Open the case and let the camera reach outdoor temperature before you latch it, so you aren't trapping warm indoor air inside.
- Make sure the gasket seals. Check that the rubber gasket is clean, seated, and undamaged so the case closes fully. A bad seal lets outside moisture in, which is exactly what feeds the fog.
- Keep the lens and glass clean. Wipe the lens with a soft cloth; a clean surface fogs less and clears faster. A spot that catches morning sun helps warm the lens and burn off condensation sooner.
How Do You Test a Trail Camera Before Walking Away?
Never trust a camera you haven't tested. Most cameras have a walk-test or aim mode that flashes an LED when the sensor fires. Switch it on, then walk slowly across the frame at the distance and height a deer would pass — out at the trail, not right at the lens. Watch where it triggers and adjust the aim until the trigger zone lines up with the path you expect deer to take.
Once the aim is right, put the camera into its normal capture mode (a step that's easy to forget — a camera left in test mode photographs nothing). Then back out quietly. Five minutes of testing is the difference between a month of useful photos and a month of an empty card you won't discover until you walk all the way back in.